
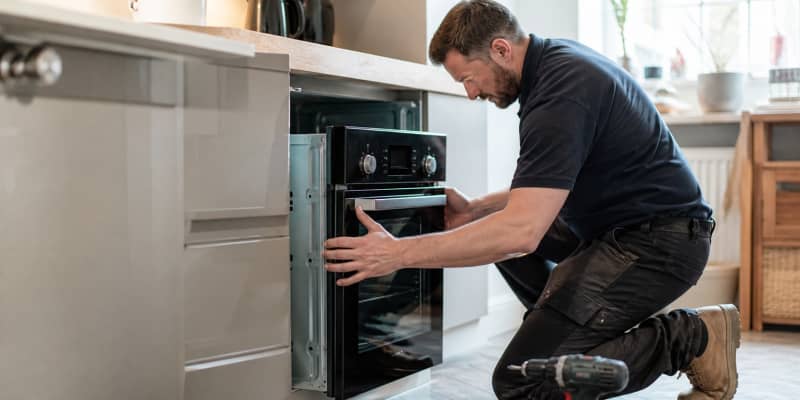
Deciding to install electric oven DIY is legal for a like-for-like swap in an existing circuit, but doing it safely means understanding what you can and cannot touch. Getting it wrong risks not only your safety but also invalidating your buildings insurance. This guide walks a competent DIYer through the swap on a standard 32 A cooker circuit, and flags where you must stop and call in a registered electrician instead.
Quick answer
To install an electric oven safely, turn off the circuit at the consumer unit, verify it is dead with an approved tester, disconnect the old oven at the cooker outlet, connect the new oven following the wiring diagram, mount it in the housing, and test with the RCD before use. Only proceed if the new oven has the same load rating and connection type as the one it replaces.
When you can DIY and when you cannot
Under Part P of the Building Regulations (England), replacing a like-for-like appliance on an existing cooker circuit is not notifiable. You must not:
- Add a new circuit for the oven.
- Move the cooker outlet to a new location.
- Change the size of the cable or protective device.
- Work in a special location (bathroom, sauna, swimming pool).
Any of those steps require a registered electrician to certify and notify the local authority. Note that Wales and Scotland have similar but not identical rules; check the current version for your region.
Read also: Gas cooker installation UK guide
Check the circuit first
Modern built-in single ovens usually draw under 3 kW and can plug into a standard 13 A socket. Larger ovens and doubles need to be hard-wired to a 32 A cooker circuit through a cooker outlet plate.
- Check the rating plate on the back of the new oven.
- Check the fuse rating of the existing circuit at the consumer unit.
- Check the cable size in the wall behind the cooker outlet.
- Confirm the circuit is RCD-protected; if not, arrange upgrade before installation.
If your new oven needs 32 A but the circuit is on a 13 A socket or vice versa, stop and call an electrician. Older London flats sometimes have 20 A cooker circuits that no longer meet modern loads.
Tools and materials
- Voltage tester (approved to GS38).
- Cross and flat screwdrivers.
- Wire strippers and side cutters.
- Cable clamp glands (if not supplied with the oven).
- Torque screwdriver for terminal screws.
- Insulated pliers.
- Two people, or a strong helper for the lift.
- Cardboard sheet or dust sheet to protect the flooring.
Step-by-step: safe swap
- Turn off the cooker circuit at the consumer unit and lock or lock-tape the switch.
- Confirm the circuit is dead at the cooker outlet with your tester.
- Slide the old oven out onto a piece of cardboard.
- Disconnect the flex from the cooker outlet terminals: live, neutral, earth.
- Note or photograph the wiring before removing the old flex.
- Check the new oven manual for its terminal layout.
- Strip the cable ends to the correct length; use ferrules if the manual asks.
- Torque the terminal screws to the manual’s spec (usually 0.6-1.2 Nm).
- Secure the cable clamp so the wires cannot pull on the terminals.
- Slide the oven in, aligning with fixing points, and screw into the housing.
- Restore power and run through the diagnostic mode if the oven has one.
Read also: How to measure for a built-in oven
First-run tests
Before the first proper cook:
- Run the oven empty at 200 C for 30 minutes to burn off manufacturing residues.
- Check the fan is running quietly and consistently.
- Confirm the cooling fan runs after the oven turns off.
- Test the RCD trip on the consumer unit with a proper test button.
- Feel around the oven housing for warm spots that suggest poor cable clearance.
Read also: Oven not heating troubleshooting
Common mistakes to avoid
- Leaving the mains on and testing with a screwdriver instead of a proper tester.
- Reusing an old flex when the new oven specifies a heavier cable.
- Overtightening terminal screws and damaging soft copper strands.
- Missing the earth connection or leaving it too short to reach.
- Not securing the cable clamp, so vibration pulls at the terminals.
When to call a pro
Call a professional if you need to change the cable, the fuse rating, the socket type or the position of the cooker outlet. Also if you inherit an installation that clearly does not comply (twin-and-earth cable of unknown age, missing earth, cracked cooker outlet). If you rent your home, always speak to the landlord before any electrical work, and always keep the receipt and installation notes in your kitchen file.
Insurance and paper trail
Home insurance policies now often ask whether electrical work is DIY or certified. For a like-for-like swap, keep the manual, receipt and a photo of the wiring. If a fire or fault occurs later, the paperwork supports your claim. Some insurers require a Minor Works Certificate from an electrician for any hard-wired change; if in doubt, spend the 60-100 GBP for peace of mind.
Conclusion
Swapping a like-for-like electric oven is within reach for a competent DIYer with the right tools and attention. If any circuit changes are needed, our cooker installation service covers electric and gas cooker installs across London with certified engineers. See our coverage areas for availability.
