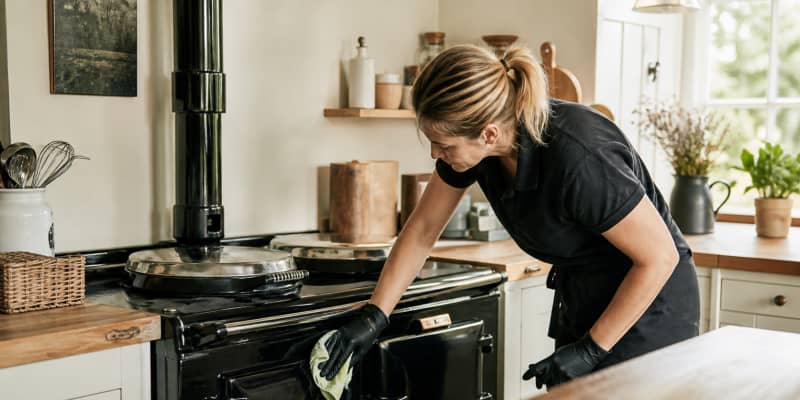
Learning how to prepare Aga for deep clean turns a good service visit into a great one. Ten minutes of preparation the night before means the engineer can get straight to the enamel and ovens, and you get more clean for your money. A professional Aga clean is a four to six-hour job for a family two or three-oven cooker, and half of that time can be lost if the cooker is still hot, the worktops are cluttered or the ovens are full. This guide walks you through the eight simple steps that make every visit run smoothly.
To prepare your Aga for a deep clean, slumber the cooker at least 12 hours before the appointment, clear the worktops on both sides, remove tea towels and rugs, and empty the ovens of shelves, roasting tins and food. Book the visit for a mild day when going without the cooker for a few hours will not affect the household, and set aside a shelf of the kitchen for the engineer’s kit.
An Aga at full temperature is too hot to work on safely, and hot enamel reacts badly to any cleaner. The engineer needs the cooker at hand-warm, which means slumbering it well in advance.
If you use the Aga to heat the kitchen or dry laundry, plan the clean for a mild day so the cooker being off does not disrupt your household. In winter, warm the kitchen with an electric heater for the duration.
Read also: Aga cleaning checklist for weekly and yearly care
Aga cleaners need clear surfaces on both sides of the cooker to lay out shelves, cloths, cleaners and dip trays. Move the kettle, toaster, chopping boards and any decorative items well clear.
The engineer will remove all shelves, side racks, roasting tins and trivets to soak them in a dip tank. Empty the ovens the night before, including:
Give shelves a shake to clear loose crumbs before the engineer arrives. Do not scrub the ovens or hotplates yourself; a domestic pre-clean makes it harder for the engineer to work back to bare enamel with the correct compounds.
Read also: Aga cleaning: what NOT to use and why
When the cleaner arrives, walk them round the cooker and point out anything that has been bothering you: a scratch on the chrome lid, discolouration on the front, a door that no longer closes flush, a grease shadow above the flue. A good cleaner will treat these as priorities.
Also mention if you have used any home remedies recently, especially lemon juice, vinegar or a caustic spray. That information helps the cleaner choose the safest cutting compound. If the Aga has recently had an engineer service (burner or element), mention it so the cleaner avoids disturbing sealed areas.
A full professional Aga deep clean usually includes:
Read also: What to expect from a professional oven cleaner
Once the engineer leaves and the Aga is switched back on, avoid heavy cooking until it has reached full temperature. Do not polish the enamel again for a day or two; the professional-grade polish needs time to bond. Reheating any leftover residue on the hotplates for a few minutes seals the finish. Book your next visit 9 to 12 months ahead to keep the enamel at its best.
Ceramic figurines, glass jars, wooden chopping boards and any decorative items should be temporarily rehomed for the day. Aga cleans generate a small amount of steam and the dip tank has a subtle chemical scent; nothing that damages nearby items, but sensitive ornaments are safer at the far end of the room. If you have young children or pets, plan the visit for a time when they can be somewhere quiet; engineers with hot dip trays and slippery cloths appreciate an uncluttered workspace.
A little preparation goes a long way to getting the best result from your Aga deep clean. Ready to book? Our Aga cleaning service covers Aga, Everhot and Rayburn cookers across London with fully insured engineers. See our coverage and prices pages for details.